Long-term food storage is on the minds of many people these days. While there are several food storage options, using Mylar bags is one of the very best ways to keep your food fresh and dry for many years. Storing food in Mylar bags is not as difficult or complicated as you might think.
Storing Food in Mylar Bags
Prepping for long-term food storage is a great way to get ready for any future disasters that may come your way.
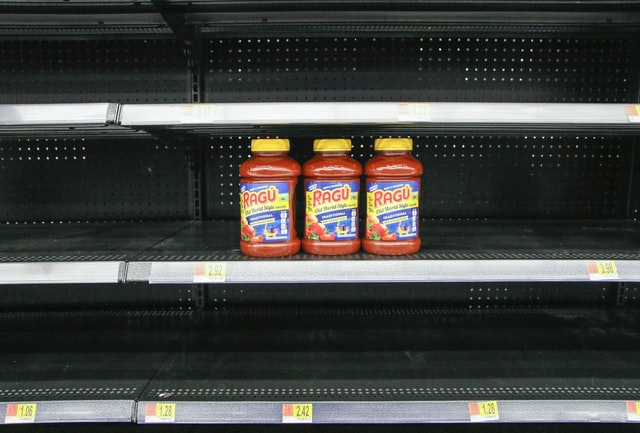
With rapidly rising food prices and threats of social and economic instability, it only makes sense to stash away some food for emergency use.
📌 Save for later! 📌
By storing food in Mylar bags, you can keep it fresh for many years. This is a great way to have peace of mind knowing that you and your family will always have something to eat no matter what happens.
But to make sure your food stays good on a long-term basis, you’ll need to take a few steps as outlined below.
Affiliate Disclosure
By clicking an affiliate link below, we may receive a commission on purchases at no additional cost to you.
Best Foods to Store in Mylar Bags
Some types of food keep better in long-term storage in Mylar bags than others.
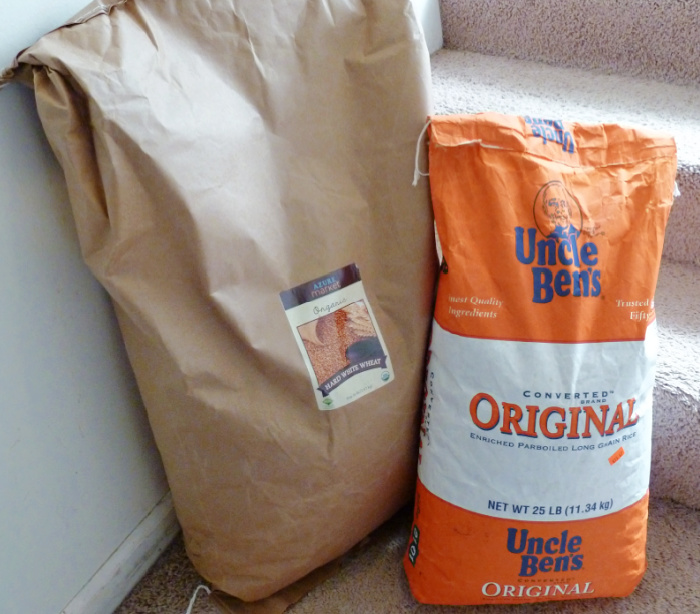
When thinking about the types of foods that keep best in long-term storage, some good choices are white rice, dry beans (all types), pasta, oats, and whole grains like wheat berries.
Avoid foods like brown rice and flour as these will not stay as fresh, even when stored in Mylar bags.
How to Store Food in Mylar Bags
Here are the steps I followed recently when putting food in Mylar bags for long-term storage.
1. Pick the foods you want to store in Mylar bags
Decide on the foods you want to store. As noted, white rice, wheat berries, and oats are great choices. You can buy these in bulk at places like Sam’s or Costco. My favorite source of bulk foods is Azure Standard.
2. Using Mylar bags with and without buckets
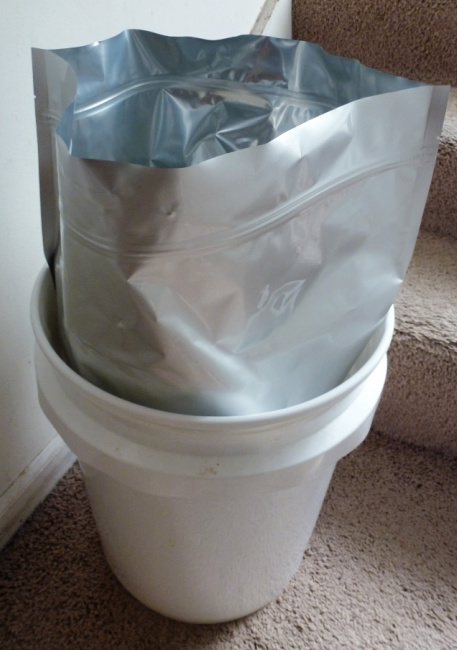
You can either store foods in Mylar bags without buckets or inside of buckets for added protection. Using bags without pails is easier and less expensive, but I prefer buckets to keep rodents and bugs from chewing through the bags.
These are the Mylar bags I have used with good success. You can get 5-gallon pails with lids at hardware stores or Walmart.
3. Place the Mylar bags inside the buckets
If using both Mylar bags and pails, unfold the bag and press it down into a pail with the top of the bag above the pail rim. The bucket also acts as a support to hold the bag in place while putting the food into it.
4. Pour the food into the bag
Open your bag of food and pour it into the bag. As a general rule, I’ve found that a bag inside a five-gallon bucket holds about 25 pounds of grain or beans. This will vary somewhat depending on the density of the specific food you’re storing.
Make sure you don’t overfill the bag inside the pail as overfilling will keep the lid from closing, making the bag more prone to pests or punctures.
I fill up all of my bags before proceeding to the next step.
5. Place oxygen absorbers inside the bags on top of the food
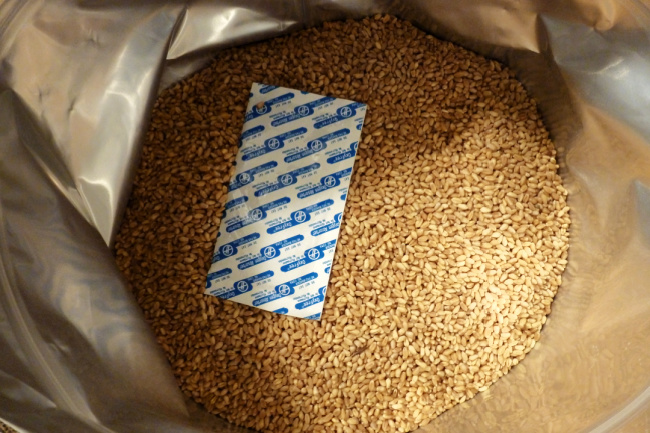
Oxygen absorbers are really important if you plan to store the food for many years.
As the name suggests, these little absorbers remove oxygen from the air inside the bag, preventing the food from going rancid. As a bonus, an oxygen-free atmosphere is also inhospitable to bugs.
I like this set of Mylar bags with oxygen absorbers, or you can purchase absorbers separately if you already have some bags. I strongly recommend using the larger 2000CC oxygen absorbers as they are more effective than the smaller ones.

I have used these oxygen absorbers with good success.
6. Seal the Mylar bags using a hair flat iron
Once the food and oxygen absorber is in place inside the bag, you’ll need to seal it up.
If your Mylar bags have a zipper, press down on the bag to get out as much air as possible while closing the zipper. If your bags are zipperless, it will be harder to squeeze out the air, but just get out as much as you can.
Plug in a hair flat iron until it heats up. You can also use a clothes iron, but a hair iron is much more convenient.
Take the hot flat iron (be careful!) and insert the top edge of the Mylar bag into the flat iron. You only want to seal the area above the bag’s zipper.
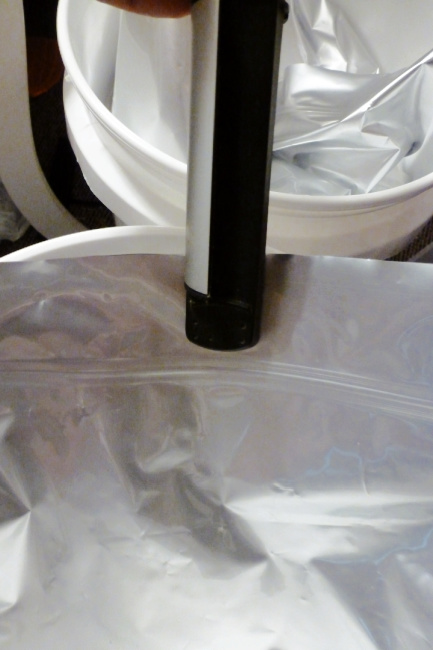
Run the hot iron all the way along the top of the bag to create an airtight seal. Squeeze the bag to make sure no air comes out. If it does, seal the bag again to close off any air holes.
7. Place lids on the pails and label the buckets
We’re now heading into the final stretch on your food storage adventure!
Once all your bags are sealed, press them down to fully fit inside the pails, then securely attach the lids.
Finally, be sure to write on the buckets so you know what’s inside. You can either write directly on the pails with a permanent marker, or use adhesive labels or tape to write on.
Your long-term food storage stash is now ready to go!
Final Thoughts on Storing Food in Mylar Bags
There are many good reasons to have long-term food storage using Mylar bags.
In the event of an emergency, it is always a good idea to have a backup food plan. If there is a power outage, natural disaster, or social upheaval, having non-perishable food items can be a lifesaver.
It’s also a good idea to have long-term food storage in case of job loss or other financial difficulties. Having a stockpile of food can help you weather just about any storm that comes your way.
If properly stored inside of Mylar bags and pails, dried goods can last for years, giving you peace of mind in the event of an emergency.


